
Are you getting errors like “photo not as per specifications” while applying for a PAN card online?
You are not alone. Most rejections happen because the photo is not in the correct size, DPI, or KB limit.
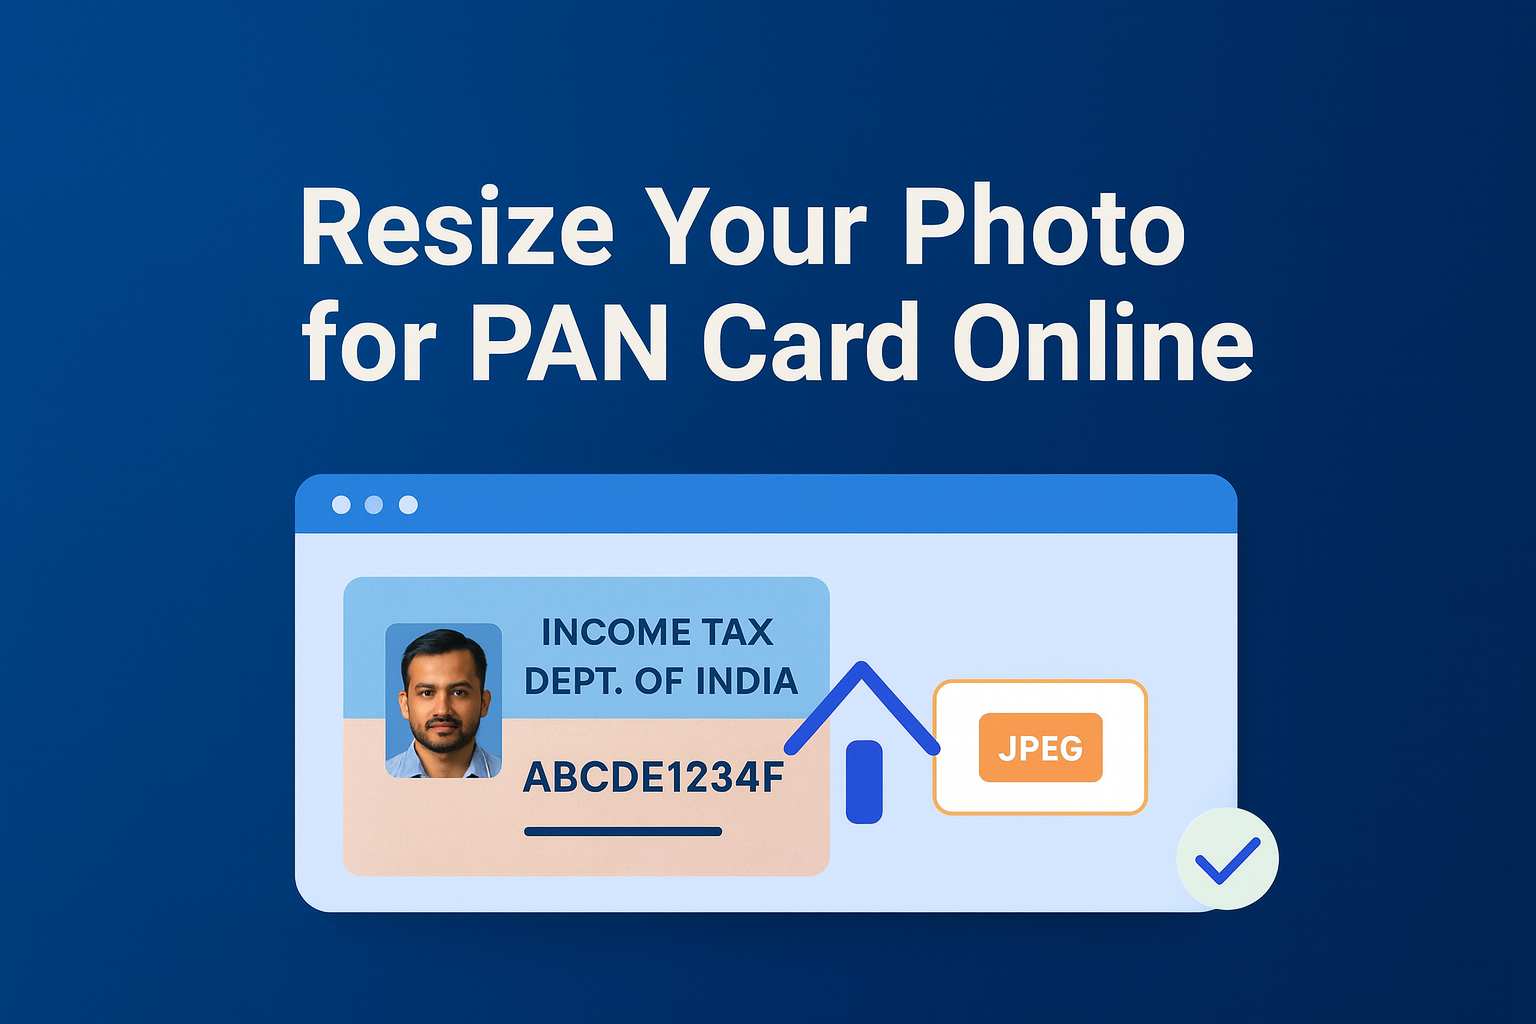
This guide will show you how to prepare and resize your PAN card photo step by step as per NSDL and UTI rules.
You can save time by using PanResizer.com, which automatically resizes photos to meet the official government requirements.
Official PAN Card Photo Size Rules
| Portal | Accepted Format | Dimensions | File Size Limit | DPI | Color |
|---|---|---|---|---|---|
| NSDL (Protean) | JPEG (JPG) | 3.5 x 2.5 cm (~276×197 px) | ≤ 50 KB | 200 | Color |
| UTIITSL | JPEG, JPG, PNG | 213 x 213 px | ≤ 30 KB | 300 | Color |
Step by Step: How to Resize Your PAN Card Photo
- Click a passport-style photo of yourself or use a scanned passport-size photo.
- Make sure your face is clearly visible, background is white or light-colored, and no shadows appear.
- Transfer the photo to your device (computer or mobile) for editing.
- Open PanResizer.com and upload your photo.
- Select NSDL or UTI specifications depending on your portal.
- The tool will automatically crop, resize, set DPI, and compress the photo.
- Download the resized photo and check its size and format before uploading.
- Upload the final photo in your PAN application form.
Why Resizing is Important
- Incorrect photo size can cause rejection of the application.
- Portals automatically check pixel dimensions, DPI, and KB size.
- Properly resized photos are processed faster and save you from delays.
Checklist Before Upload
- Photo is in JPG/JPEG or PNG format.
- Dimensions match NSDL or UTI rules.
- DPI is set correctly (200 for NSDL, 300 for UTI).
- KB size is within the required limit (≤ 50 KB or ≤ 30 KB).
- Preview the file once before uploading.
Quick Recap: Photo Resizing Table
| Portal | Format | Pixel Size | Max KB | DPI |
|---|---|---|---|---|
| NSDL | JPG | 276×197 px | 50 KB | 200 |
| UTI | JPG, JPEG, PNG | 213×213 px | 30 KB | 300 |
Expert Tips for Perfect Photo
- Avoid selfies. Always use a clear passport-style photo.
- Check both pixels and KB size if you see an upload error.
- Save the resized photo safely for future use or reprints.
Conclusion
Following the rules for PAN photo size is crucial for successful application.
Always check size, DPI, and KB before uploading. To save time, use PanResizer.com which automatically gives you the perfect photo file in seconds.
FAQ – Common Questions
Can I resize PAN photos on mobile?
Yes, PanResizer.com works perfectly on mobile as well as desktop.
What if my photo is above 100 KB?
Compress it with PanResizer or another online compression tool before uploading.
Does the photo need to be in color?
Yes, both NSDL and UTI require colored photos for PAN card applications.
Will wrong dimensions cause rejection?
Yes, if your photo does not match the official rules, the portal may reject your application.
3 thoughts on “How do I resize my photo for PAN card online application?”
Comments are closed.